This brief is an animation project with the rail company CAF Rail. A Spanish company that manufactures railway vehicles and equipment. This was such an exciting project to be a part of, as we created something that will actually be used by working professionals in the train industry. We were tasked with creating animations for a staff training video, for the new B23 DLR train. The animations are very technical in nature, showing various mechanisms of the train and how they work.
This breif was also a paid role, so we had to sign up with arts temps to accept the work and receive the payments. This was really exciting, as it felt good to be able to do creative and artistic work in a real-world freelance scenario – with my work actually being used for something important.
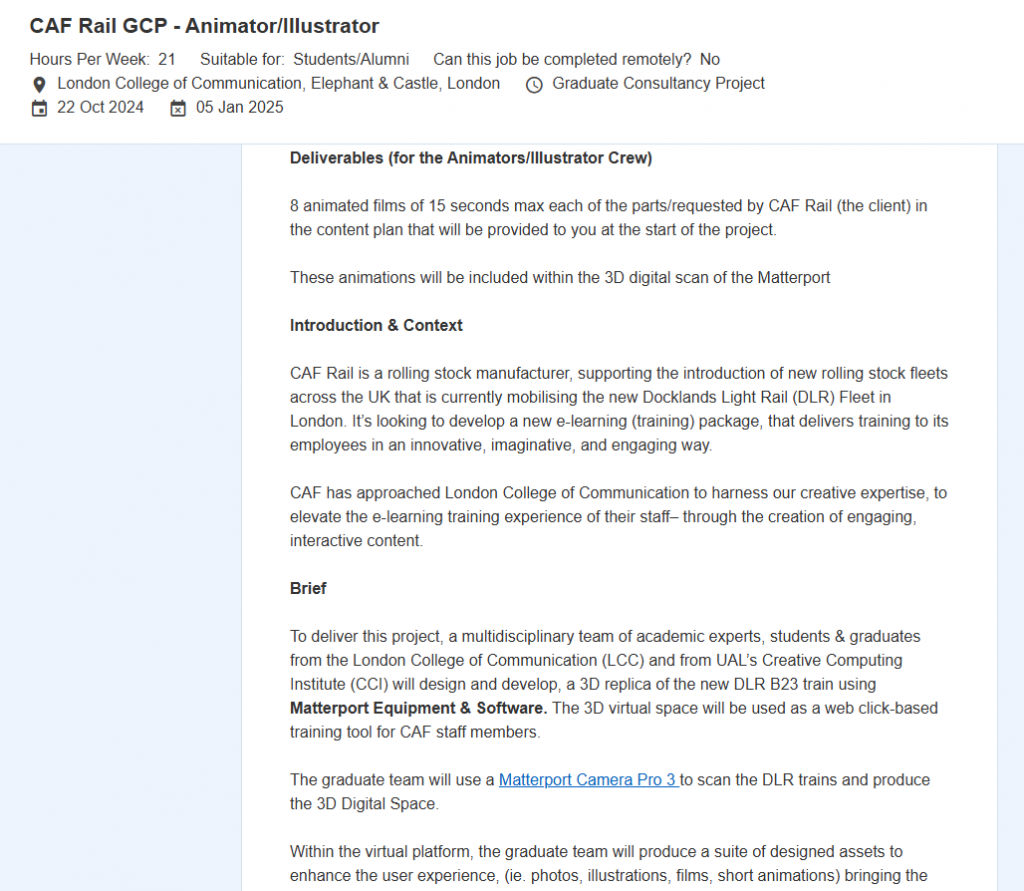
Depot visit ~
At the beginning of the brief we had the chance to visit the CAF train depot and have a tour! This was a really cool expierience and it was interesting to see the train we would be basing our animations on.
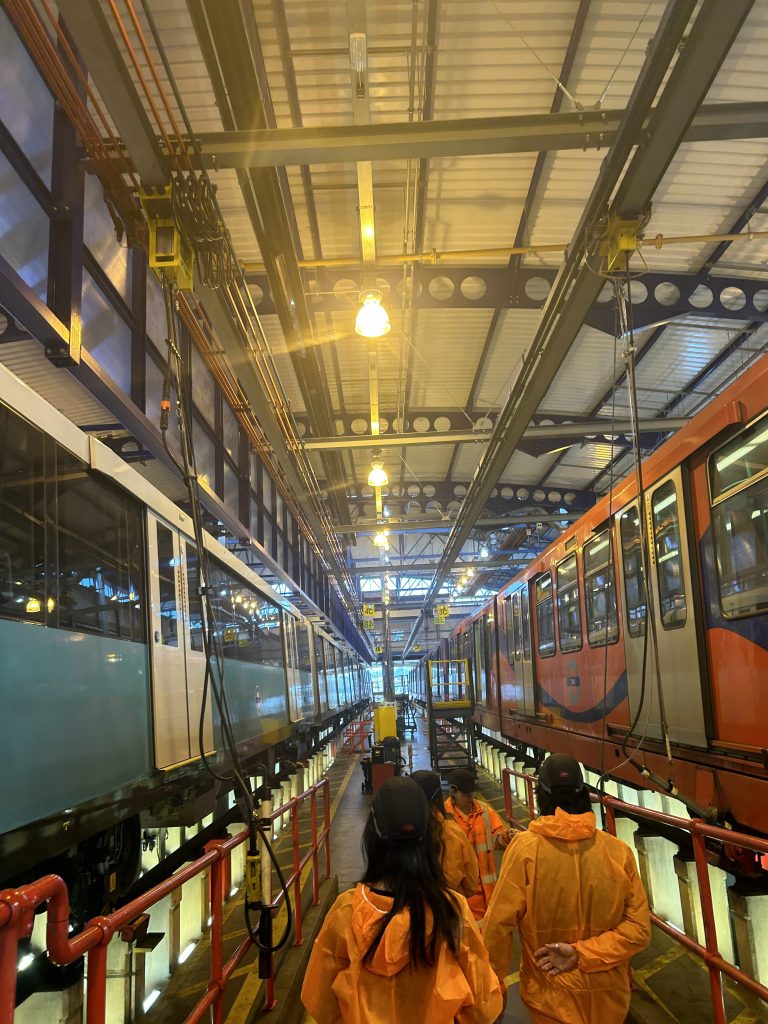
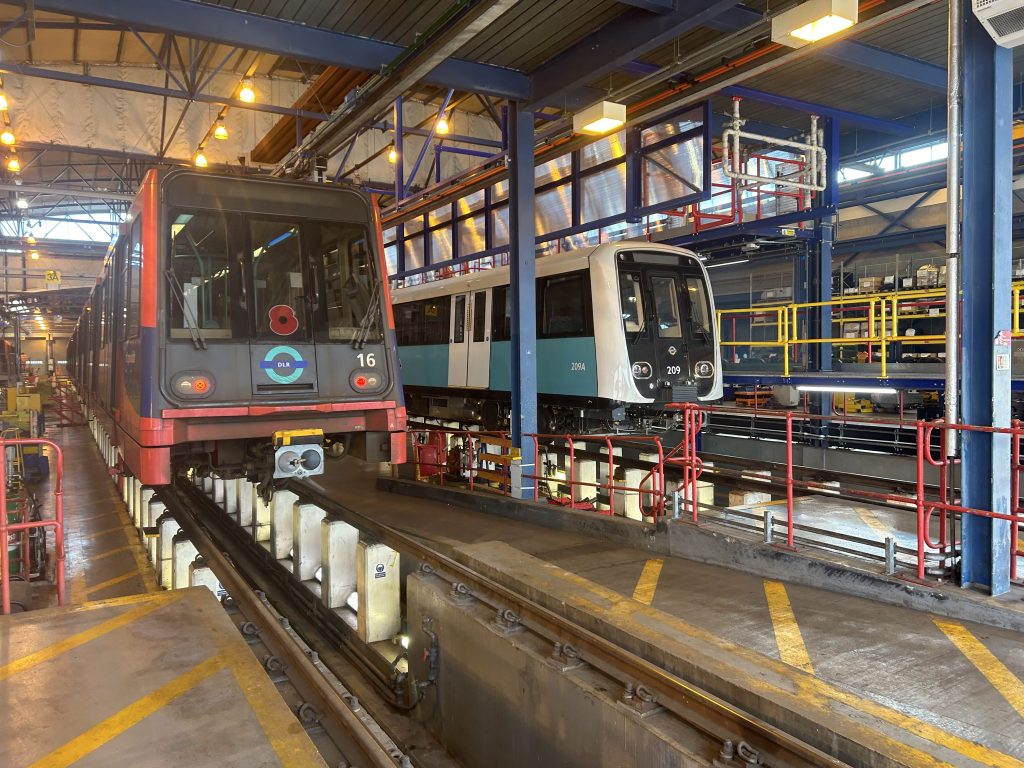
We even got to see a train moving and leave the depot!
Animation training ~
Before starting the animations, we took part in some training for Adobe After Effects. I had previously used after effects for a project in my second year for character design, however I still wasnt completely confident in the program as it is quite complicated. So this training was really useful.
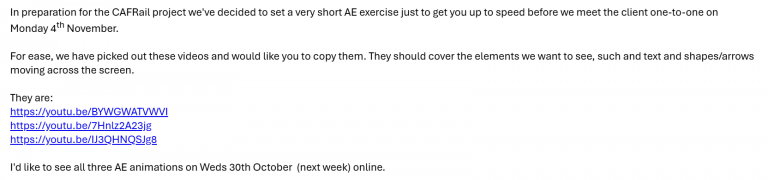
The training consisted of a simple example character animation, to get the basics of the program down.
Next, we practiced some typography, line and pop up animations – trying to get a smooth, clean result. This was essential for our final products since they were going to a client. The pop up and line animation practice was particularly useful for me, as I had to use that technique a lot later on.
Animations ~
We had multiple meetings with the CAF Rail team to discuss what our roles would be in the animations, we were all given 2-3 animations or illustrations to create. I was given the animations depicting the brake systems and HVAC structures.
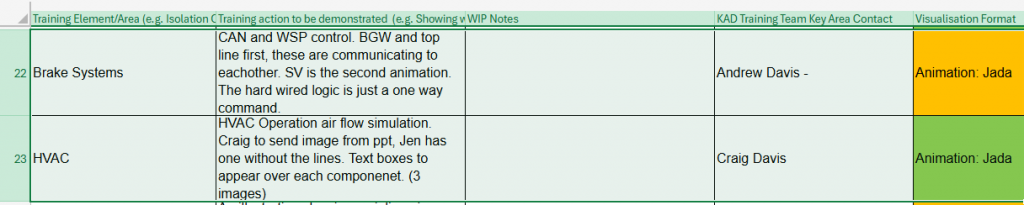
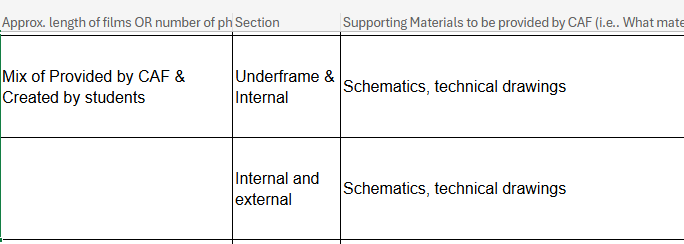
At first I was pretty apprehensive and unsure of how the animations were going to work. Of course being thrown into a whole new area and seeing all the technical jargon that comes with it was a bit intimidating, the descriptions of the animations had me quite confused. We were also given the images that our animations would be based on – so I received images of the train brake systems and HVAC.

This is the image of the brake systems that was provided, including a description of how it works.
Below are the images of the HVAC that were provided, I had to layer the diagram onto the real image of the HVAC and make the labels pop up to show the different components.
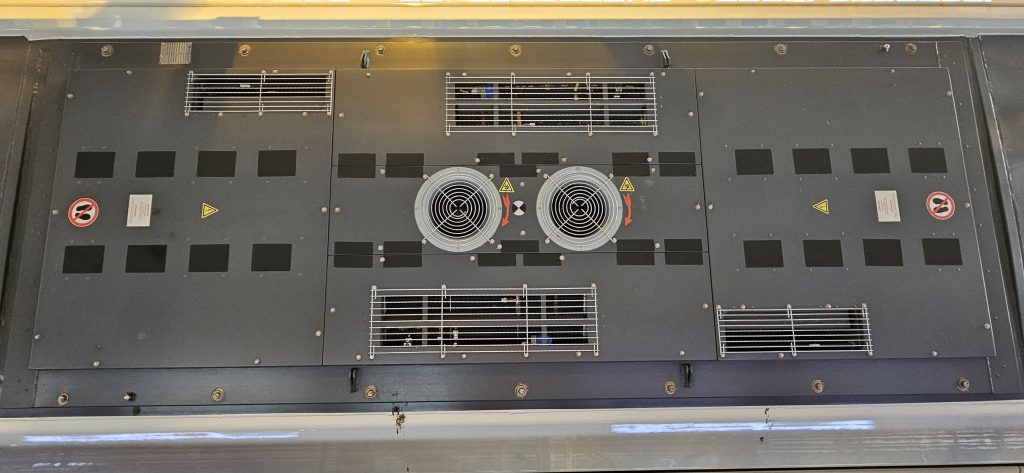
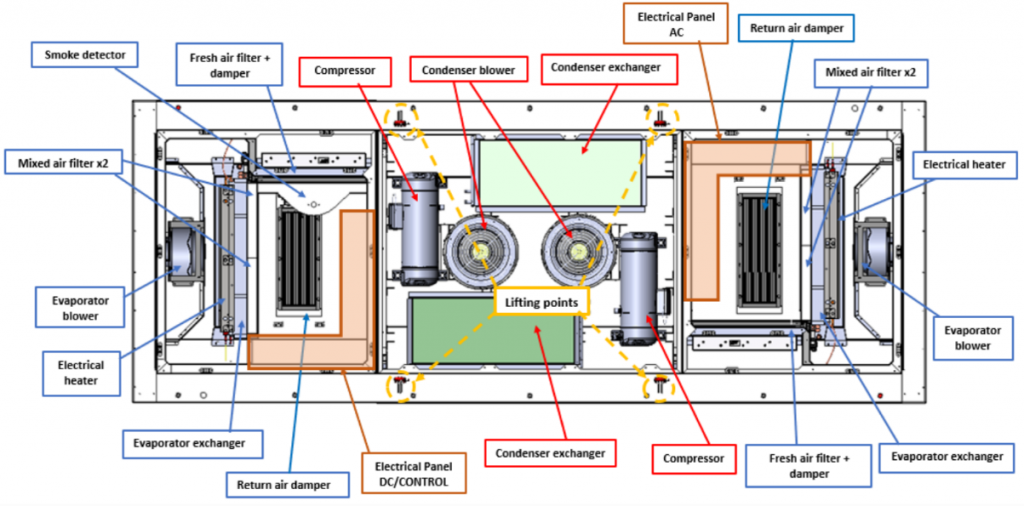
At first, I attempted to redraw the whole HVAC diagram, as it was quite blurry and I needed a version that did not have the lebls on it. However I realised that this would take too long and it would not be completely accurate, which may cause issues with the client.
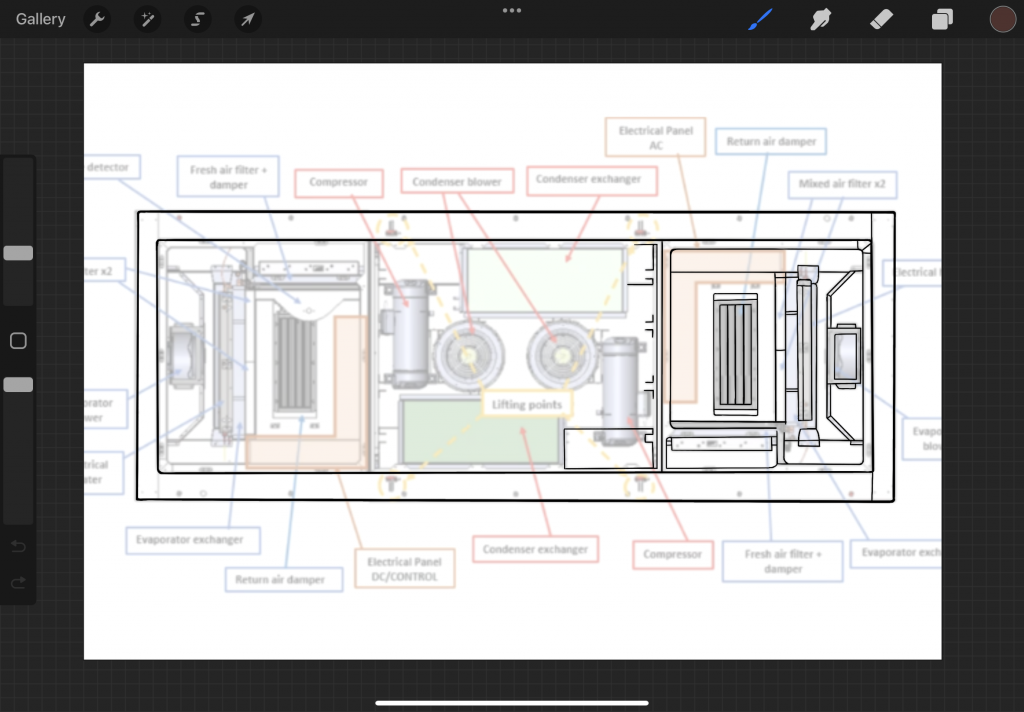
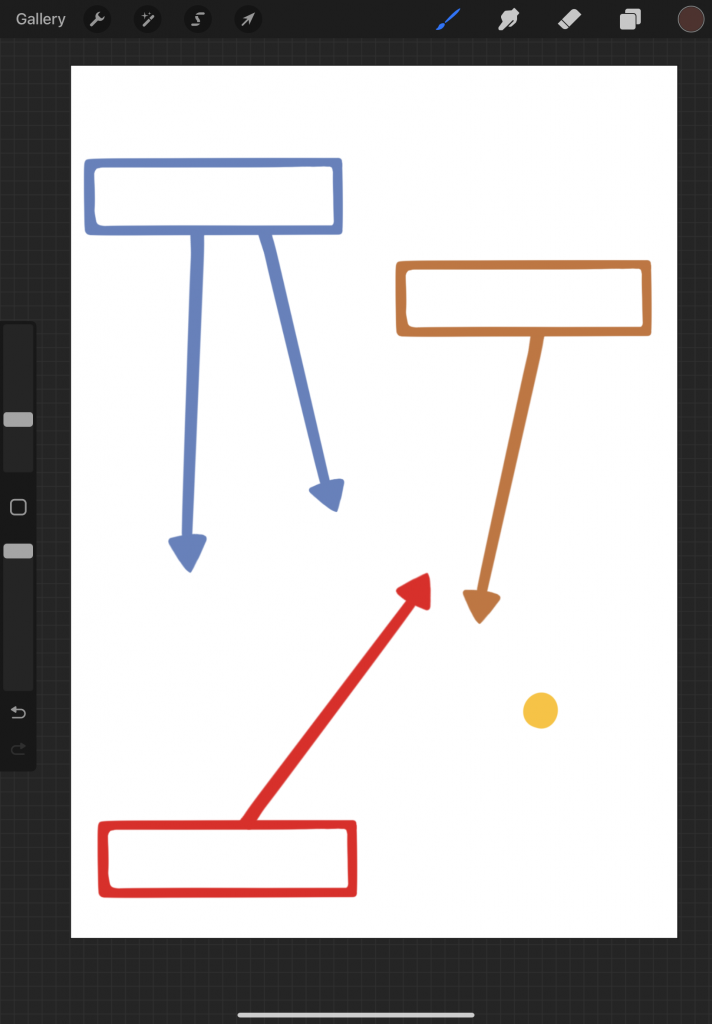
I also started to draw the labels and arrows by hand, but my tutor gave me some feedback on this not being the optimal way to do it as it would not be giving the proffessional, clean look needed. So I changed to create these in photoshop, instead of procreate that I had been using to draw.
I had to clean up the HVAC diagram by hand, to remove the labels and straighten the blurry lines.
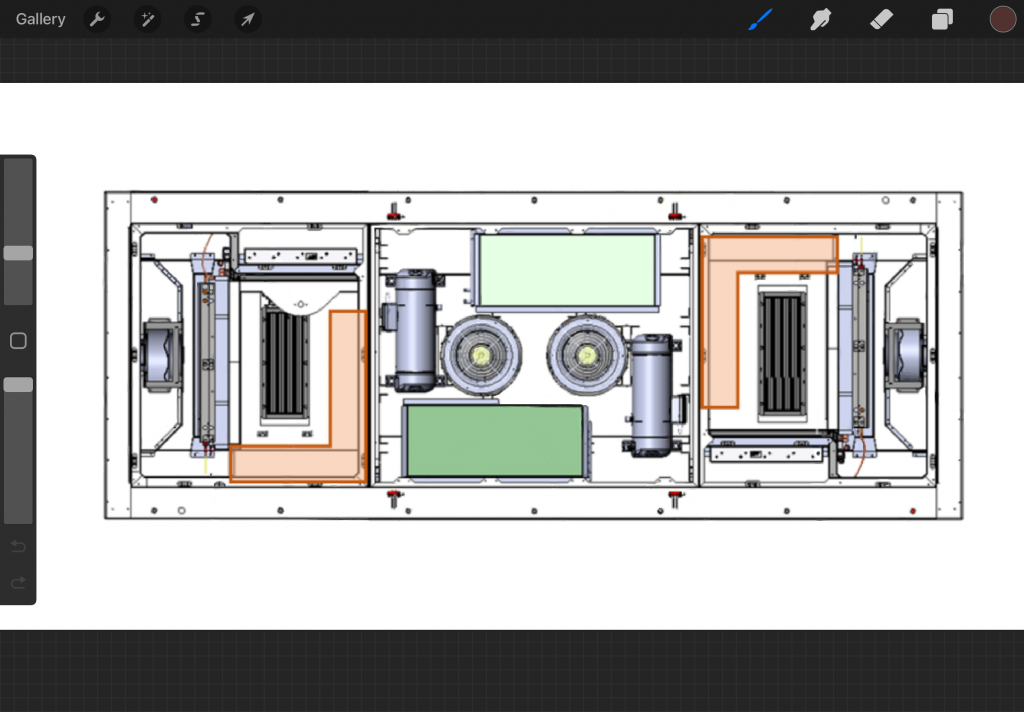
After I had cleaned up the diagram I was ready to start the animations. I created the labels in photoshop, as well as the arrows that I would have to use in the brake systems animation. I also had to remove the background of the HVAC diagram to superimpose it onto the real HVAC image.
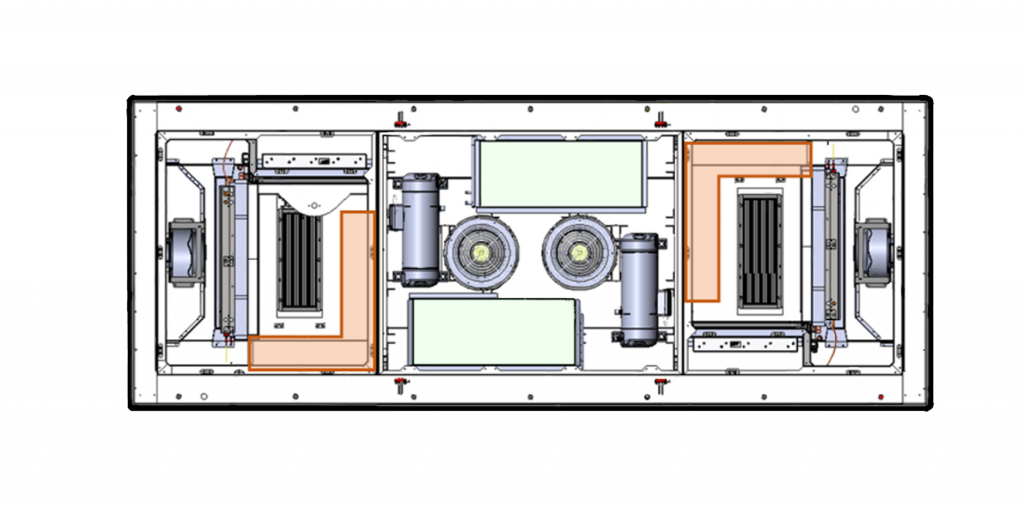
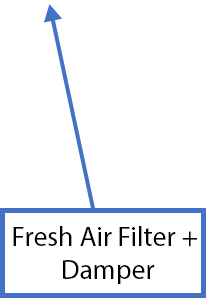
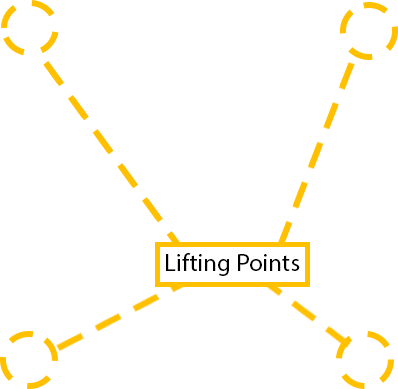
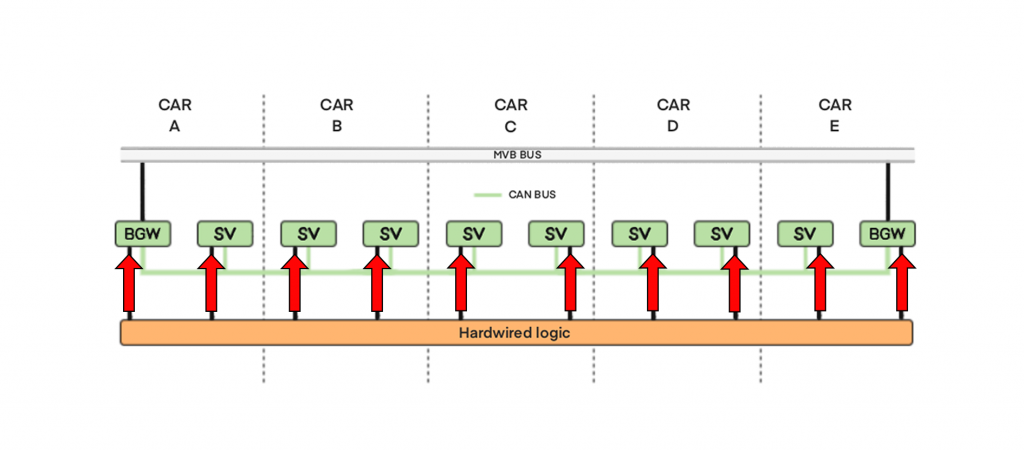
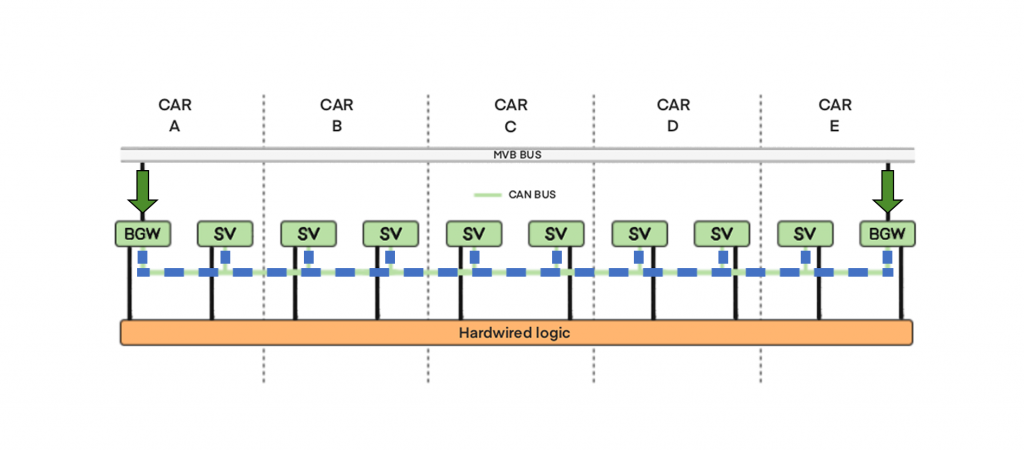
Here are the examples that I created in photoshop before the animations to check the style of the arrows and lines for the brake systems and HVAC.
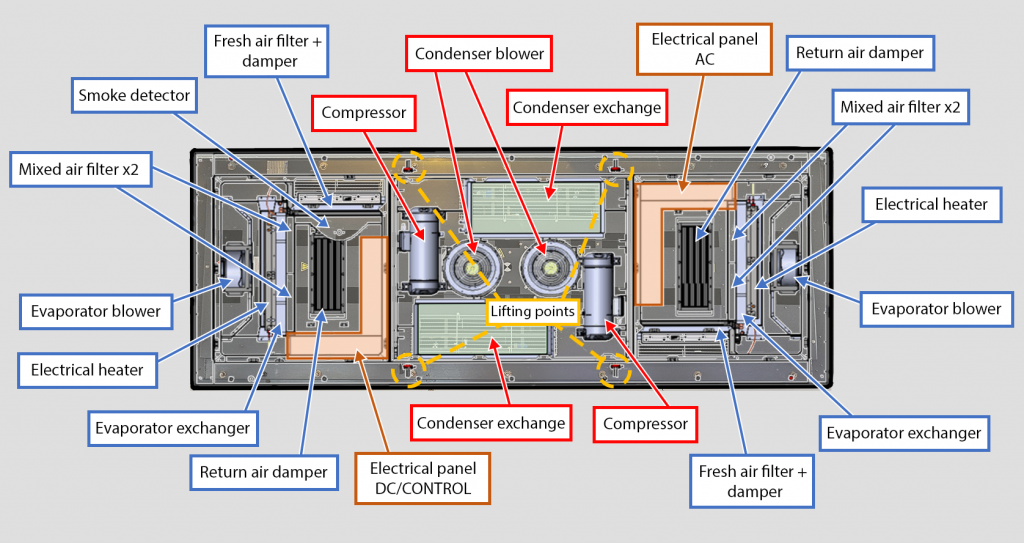
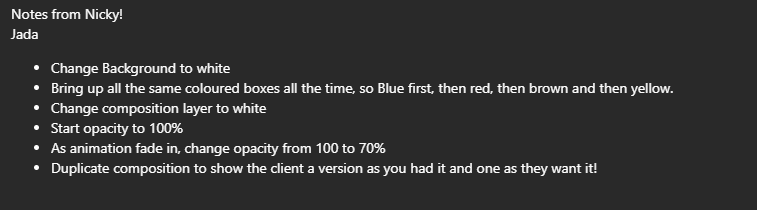
When I showed my progress in animating the HVAC, my tutor gave me some notes on what to change to better fit the clients wishes. My tutor also gave me some advice on techniques to use while animating the brake systems, as I was having some trouble with making the arrows and lines move smoothly.
Finished animations ~
I’m really happy with the way that these animations turned out. I was proud of myself for being able to create something looking polished and professional. The animating process was a little tedious at times, especially because after effects is such a complicated program, but they ended up being really successful.
Leave a Reply